Saturday, April 29, 2017

Part Two ~ Making Curtains For The Little House ~ Remodel IV

In our last Sweet Southern Days post we talked about making curtains for "The Little House."  We have been in the process of remodeling the little house down the hill for quite some time.   I have shared the steps along the way in previous posts.  If you would like to see the remodeling process you can clink on the link below.

https://www.blogger.com/blogger.g?blogID=1799317821178182526#editor/target=post;postID=636493241269994119;onPublishedMenu=overviewstats;onClosedMenu=overviewstats;postNum=1;src=postname

In the last post we shared the downstairs curtain making information.  Today we are going upstairs and we will see how the curtains were made for the French doors leading out to the little upstairs patio.  

The photo shown below shows a large portion of the the upstairs living quarters.  And, you can see the finished curtains at the end of the room.


As discussed in previous posts the room shown in these photos is a combination living space which includes the living room, kitchen, dining and a small bathroom off to the left.


As seen in the previous post about making the downstairs curtains,  I used the pattern seen below for the downstairs and extended the jabot length of the pattern for these double doors seen above.


In the below photos we see a closer look at the finished door curtains.


The name of this fabric is Canterbury Red "Ainsworth" 
Equestrian Hunt Scene Designer Fabric by Ralph Lauren.

This fabric can be found by calling the listed number at the site below:


The below photo shows the entire pattern of the fabric when the bolt is rolled out.


My husband was attending a meeting outside of Washington, DC.  In his off time we went over to Alexandria, Virginia and were sightseeing around Old Town.  We happened to see a fabric store.  Knowing I was looking for fabric for the upstairs little house we went in to look around.  We loved this fabric from the first moment we spotted it,  and did not have to look at anything else.  I went home, measured the windows and called them back with the fabric order.  I also ordered the matching trim seen in some of the below photos.


If you saw the first post you will see these curtains were made just like the downstairs bedroom curtains but with different fabric.  However, I made the jabot sides longer because of the longer door.


They were put together just like the others curtains including stapling to a board,  which would be placed on the wall with an L-shaped bracket.  The lining to the fabric is the same color as the lighter portion of the walls.


To break up the pattern a little bit I added this section in the middle.


Since these doors open out this style works well with an open door.


In the below photo we see the other end of the room which has shorter double windows.  I wanted to use a different more casual pattern for the back part of the room and went looking online for  a pattern that would seem appropriate.

If you like to sew and want to find some really beautiful patterns for the home,  you might like to click on the link below:


The below photo shows the M'Fay curtain pattern I used for these windows.

This was an especially easy pattern to make because the pattern was a rod pocket design.


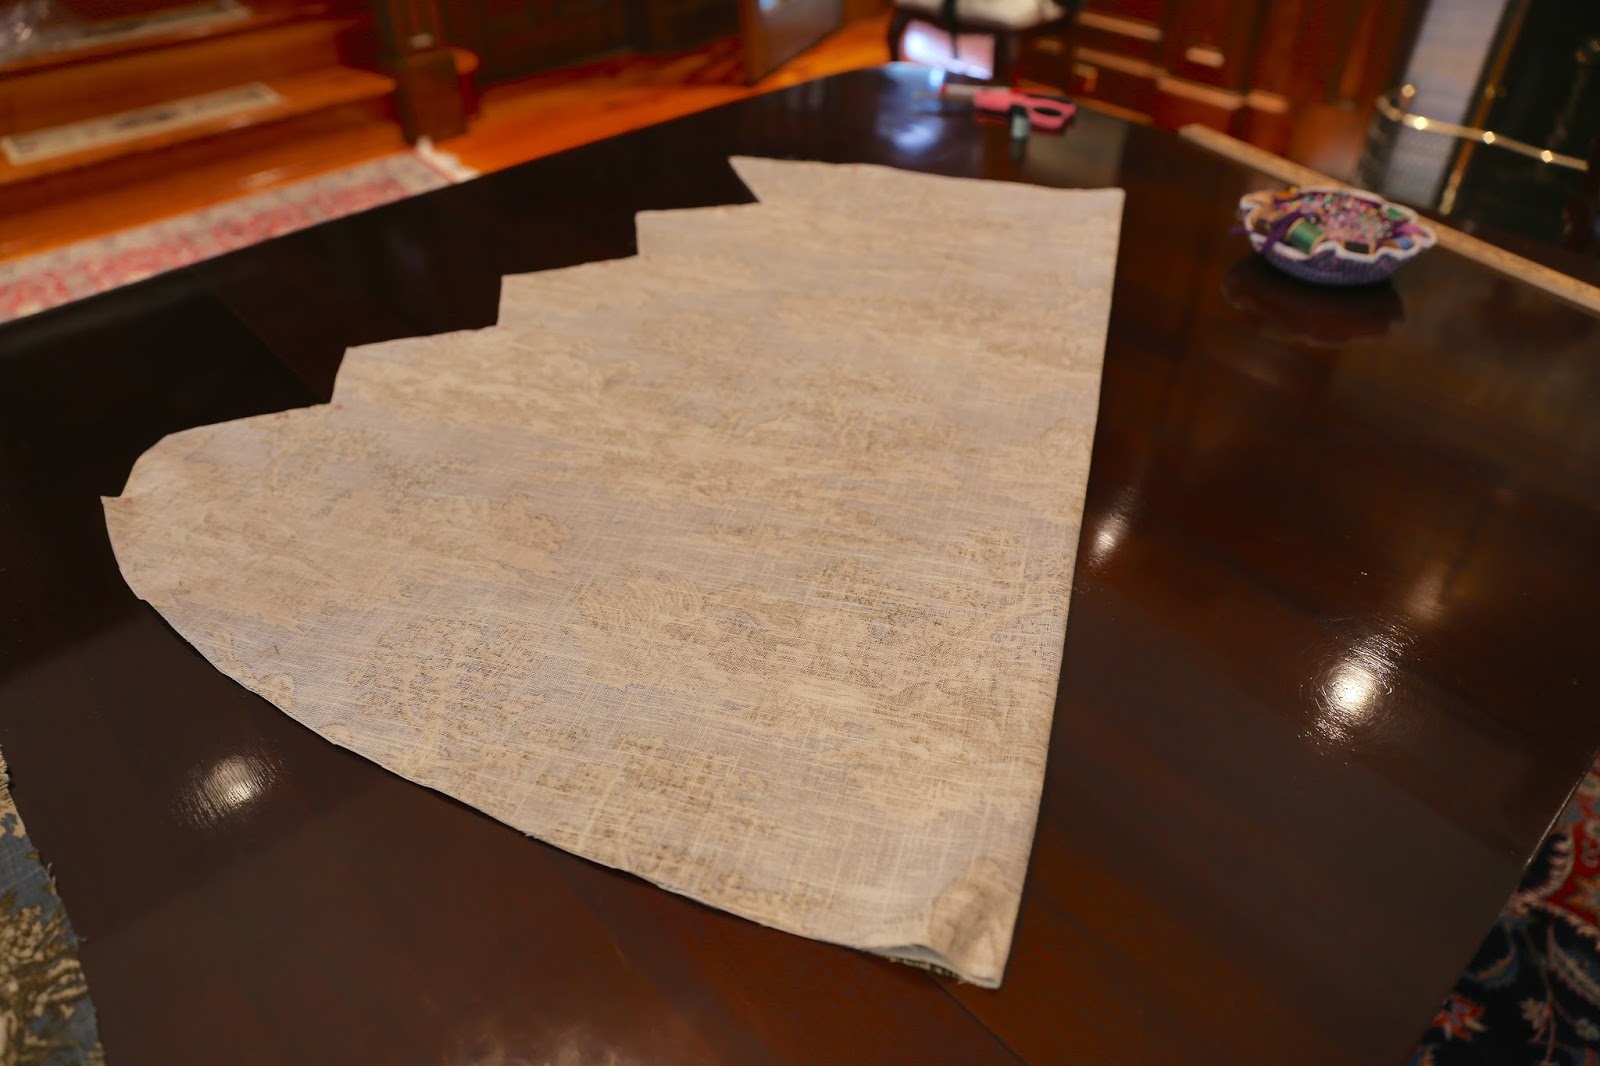
Thank goodness I have a large table in the dining room.  
This table really makes a nice pattern cutting space.


As you can see the pattern details are very easy to follow.


The fabric had to be folded this way because of being cut on the bias 
which makes them hang so nicely at the window.


Then after lining and turning the cut out curtain section the trim was added.


In the below photo you can get an idea of how the curtains fit on the curtain rod.


After placing all of the curtain sections on the rod my husband installed the rod into place.  I forgot to take any photos of making the inserts you see in this picture.  But they too were very easy to make.


I'm just about finished with the remodel but still do need to make some pillows for the couch.


It was our great pleasure to meet all of the highly skilled people who all helped complete this project.  First our wonderful builder Susan.  She is no bigger than a pretzel,  but has the ability to take on any section of the project with ease.  She is a true Southern girl and many of her suggestions along the way showed her Southern influence.

We have great confidence in the highly skilled working folks who helped us with this project.  They truly reflect what a great country our America still is, from the floor installers, the granite people, the painters, the electricians, the air-conditioning people, the floor tile folks, the carpenters, the furniture refinishers, the cabinet repair folks, the leather repair people, the appliance folks and the nice folks who helped us with some of the accessory selections.  And last, but not least, our wonderful daughter who took time from her busy schedule to take on the huge project of making those items for the bedrooms.  Our sincere thanks to all involved.  May God bless all of you.


Thank you for visiting and walking through all the fun steps of remodeling this little house.  
Wishing you a happy weekend with many blessings wherever you may be.


Wednesday, April 26, 2017

Making Curtains For The Little House ~ Remodel - Part IIII

Hi Everyone.  We hope you had a wonderful Easter Holy Week and a happy and holy Easter Sunday.  We had a wonderful time celebrating this special event with family and friends and we all brought warm covered dishes and enjoyed a delicious Easter Sunday dinner hosted by our daughter Sharon and her husband Charlie. 

In previous posts we viewed the remodeling of the little house down the hill from our main family home.  If you would like to see these posts you can click on the links below.  The first link shows the outside remodel and the next three posts show the inside remodel of the little house:


3.  http://sweetsoutherndays.blogspot.com/2017/03/guest-house-remodel-part-ii.html

4. https://sweetsoutherndays.blogspot.com/2017/03/guest-house-remodel-part-iii.html?m=0

Today we will show how some of the curtains were made for the inside windows.  In the below photo we again see the "blue bedroom."  Our daughter Stephanie made the draw drapes seen at the double doors at the back of the room.  She made these curtains all in one weekend.  I have no idea how to make these curtains and was so thankful she took on this huge project.  

Plus, she made the ruffled monogrammed pillow for the bed,  along with the ruffled Euro pillow shams and the matching bedskirt.


The curtains you see in the below photo are swag and jabot curtains 
attached to a board and placed above the window.


These swag/jabot curtains are very easy to make by just following the pattern instructions.


I have had this McCall's curtain pattern for years and have used it many times making curtains for other windows in our home up the hill,  and also making curtains for friends.  When looking at the pattern, the bottom left top photo as you can see is the pattern I used for these single windows for the little house.

I also used the bottom right design of this pattern to make curtains for our family-room for our main family home up the hill. Below you will see photos of that family room and how different the curtains can look using the same pattern.  There are different variations of this same pattern and I used the pattern shown in the bottom right on the pattern photo.

This pattern design worked out well for these double windows.  At that time I chose a floral Laura Ashley fabric with a light blue background and added matching tassel trim.

The below photo shows the three double windows in this section of the family room.

And in the below photo this is the view you would see if standing at the fireplace looking across the room.  There are five double windows in this room and I thought this pattern worked well for all of these windows.  

I did not want the curtains to be overpowering so did not have the side jabots come all the way down.  And, as you can see the inside jabots were shorter than the outside just to give a balanced look to the windows.


Dragging my feet a little it took me about 2 months to finish these five sets of curtains.  


I liked the wood framing around the windows and didn't want to cover it up, 
so I made the curtains to fit inside the frame of the windows.


The pattern advertises these curtains can be made in three hours.  Even though the curtains are very easy to make, it took me way many more than three to make these curtains.

I used this pattern to make the single window curtains for each bedroom of the
little house and the double French doors upstairs.


A pattern similar to this is available at the two sites listed below just in case you are interested in finding a similar pattern.


https://butterick.mccall.com/b3804

And at the below link you will find many beautiful curtain designs, plus a simple swag/jabot.

http://mfay.com/index.php?id_category=10&controller=category

When making the curtains for the little house, using the swag/jabot pattern, it is necessary to mount the curtains on a board which will be placed over the window.  So you simply measure the width you wish at your window and make the curtains and the board for the required length.  When you have the pattern it will tell you in detail each step to take.  It sounds complicated, but it is not at all.  If I can do it, anyone can.


You begin by stapling a lining material to cover the board the curtains will be mounted on.


You wrap the board just as you would a gift package only you are using
fabric and heavy-duty staples instead of paper and Scotch tape.


I used the dining room table to lay out the fabric for cutting.


As you can see the pattern offers different lengths.


We were looking for fabric that would bring the outdoors in.
I loved the birds and the dogs seen in this fabric.


This fabric is a heavy linen/cotton blend fabric and it is called Dog Toile.  The above and below photos are all the same fabric.  The top pattern shows a pair of pheasants and in the below photo we see the hunting dogs in print.

I found this fabric at a local fabric store.  After looking online I see that this fabric has been discontinued.  This fabric came in the blue as seen in these photos and also in a gold and red color.


The below photo shows the cut fabric pattern.


The below photo shows the cut lining of the pattern.


After the lining is sewn to the fabric, turned and pressed then
we are ready to sew the sides of the pattern.


Below we see the pattern pulled up and sewn into place.
It is simple you place A to A, B to B, etc.


For this pattern I thought it would be pretty to add this matching tassel-trim which was very easy to sew along the outside edges of the pattern piece.


And the tassels were also added to the jabots which you see in the below photo.  You can see how easy that part of the pattern would be to put together....You just match A to A and B to B, etc.


You sew all of the stitches across the top for the swag and both sides of the jabots.  Then using a heavy duty staple gun you staple the jabots and then staple the swag across the top.


Now you are ready to mount the curtains above the window with an L-shaped bracket.
And that is it!


In the adjoining bedroom to the left we basically followed the same design as in the blue room.


This fabric is called Deer Fabric Red Toile Woods Nature Woodland Lodge print and was available at our local fabric store.  After looking online it seems this particular fabric is also discontinued.  We covered this chair cushion and matching foot stool with the same fabric as the curtains and bed pillows.

I'm not a decorator and I am sure they would have done these rooms differently, but I loved this fabric so much I totally loved using it everywhere.


This fabric with the deer in the print fits right in with the country setting of the little house.


And these curtains were made just as described for the blue room curtains.


Looking at the below photo I had a flashback in time.  Before my first born daughter Debi was born I went down to Sears and bought this wonderful Kenmore Sewing Machine.  I can't believe that was over 40 years ago and it is still sewing perfectly....Would not want to use any other sewing machine.


And there they are ... It is just that easy!


Join us in the next post as we see the upstairs curtains and the patterns used for them.

Thank you for coming along for a visit today and seeing the steps necessary to make these curtains.  There are lots and lots of curtain design patterns choices out there which include something for everyone.

Wishing you a wonderful rest of your week with many blessings wherever you may be.